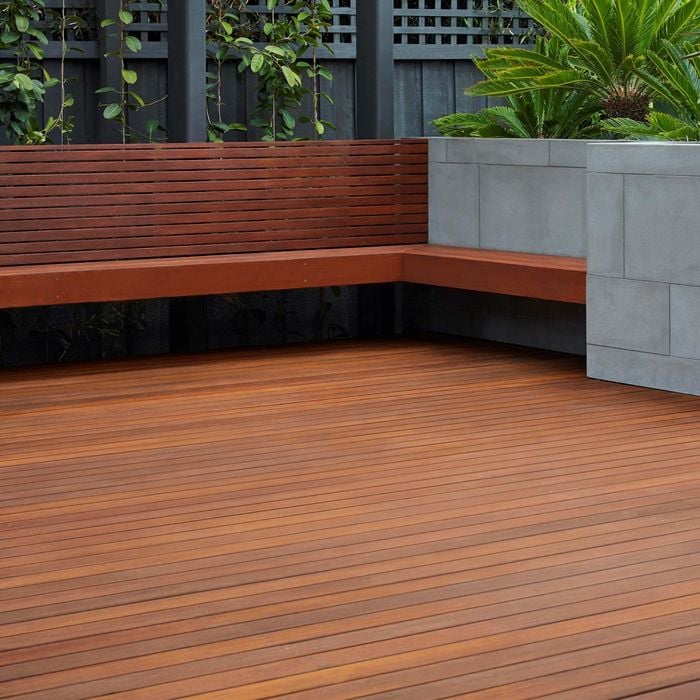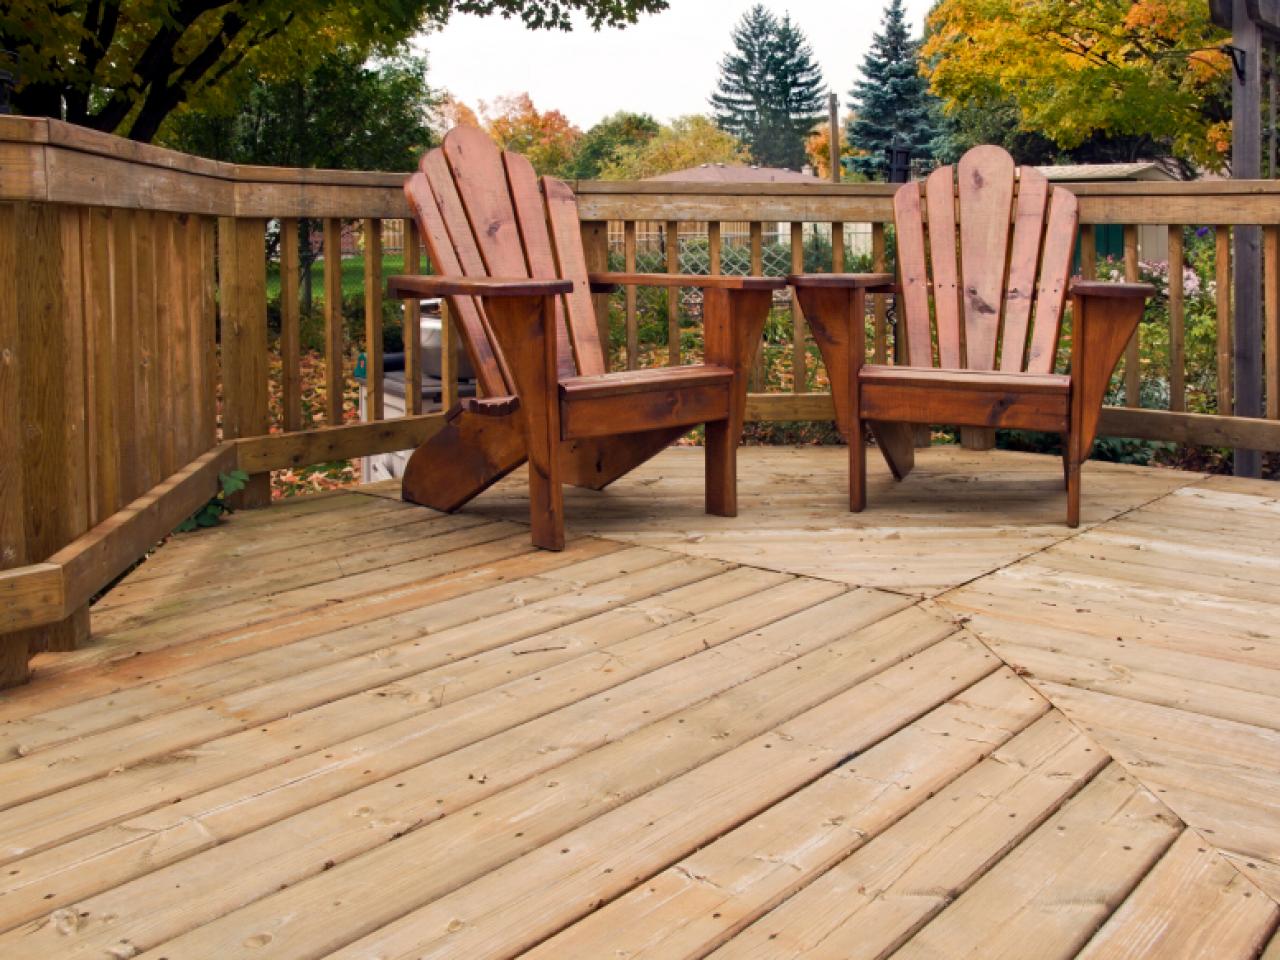
At present, there is a boom in the use of decks, either solid wood or WPC for outdoor use. Outdoor Wooden Decking is an excellent proposal of material for outdoor use since it does not require a concrete surface, it can be installed directly on grass, earth or virtually any surface with which it is level. In addition, the decks are highly resistant, durable and manufactured to be outdoors. On the other hand, the decks do not require adhesives and can be used immediately after finishing the installation.
The procedure for installing solid wood or WPC decks is the same and may vary slightly in the composition of the materials according to the surface and needs of the users and the area.
The installation of a deck usually requires:
- Prefabricated bases for the corners of the area.
- A wooden or aluminum frame within which pieces of the same material will be placed along, thus forming a kind of frame or grid.
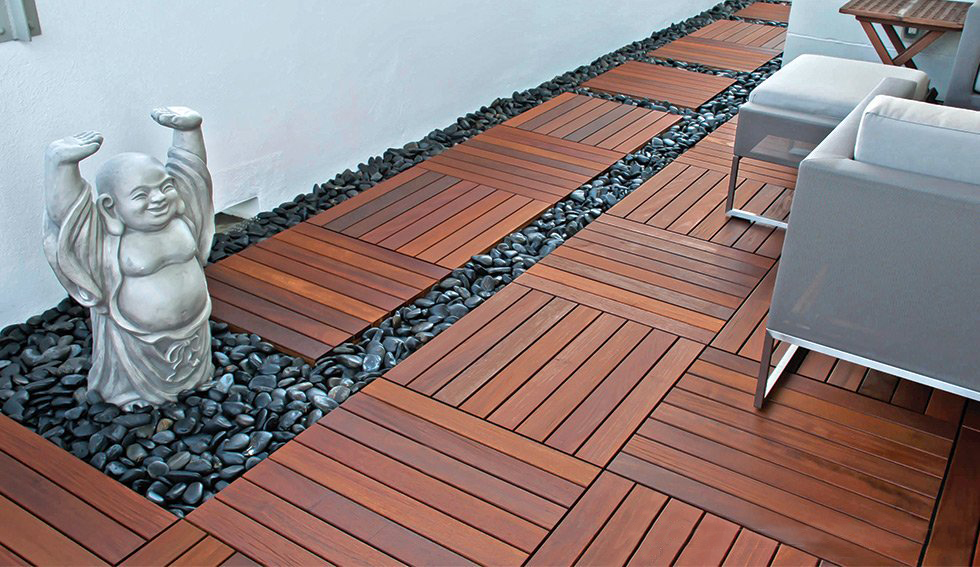
- Wooden Decking pieces of the desired length made of WPC or solid wood treated for outdoor use (ipe and cumaru are common options)
- Union Clips from the deck manufacturer
- Sprockets / nails / screws of galvanized or stainless steel according to the preference of the installers as long as it complies with the manufacturer’s warranty standards.
Having the necessary materials, for practical purposes we assume that the installation will be done outdoors on a surface of land or grass (grass) and the area of the deck will be rectangular or square with 90 degree angles at the corners. We also assume that the surface is uniform and relatively level. Taking into account the above, the steps to follow for the installation are the following:
- Prefabricated concrete, steel or other material bases chosen by the installation team are placed in the corners of the area where the deck will be installed. These bases must have grooves for the joints of the wooden or aluminum frame which will go to the entire perimeter of the area. In case of slight level changes between the bases, THESE can be buried in the surface until all the bases are at the same height. It is essential to verify that all bases are at the same level as they not only serve to fix the Wooden decking, but also to level.
- Once the bases are fixed at the corners of the area, we assemble the wooden and aluminum frame on which later pieces of the same material will be placed in the same direction that the deck will be installed at intervals equivalent to the width of the deck. That is, if the deck is 18 cm wide, then a piece will be placed every 18 cm inside the frame. Once the pieces are placed inside the frame in the same direction in which the deck was placed, we have what is known colloquially as a “grid” or “frame”. It is important to mention that Wooden Decking manufacturers do not usually manufacture the parts of the frame or grid and therefore it is something that varies according to the climate of the region and the preferences of the installation team. For dry climates it is common that the frame or grid is made with solid cedar wood,
- After the preparation of the grid or frame, it is important to consider the requirements to make the material warranty applicable. Typically, this involves using union clips and screws / pins / nails from the manufacturer, if any.
- Knowing the characteristics of the specific deck that will be used and having the grid, we can start with the installation of the deck on the frame.
- To install the deck on the frame, we will first place along the frame, making cuts in the same way as with an engineered wood floor, SPC or laminate. That is, the installer must form a kind of “puzzle” using the pieces to know where to make the cuts of them.
- Already made the cuts, we can start placing. Most decks have concave grooves on the sides on which the union clips are mounted. To fix the pieces, we place the clips so that each clip is in the center on a piece of the frame and at the sides on the slots of the deck pieces. After confirming that the clip is in the correct position with respect to the frame parts and the deck parts, we fix it using the pins / nails / screws to the frame.
- We repeat the previous process until all the pieces are fixed and confirm that all the clips are nailed / screwed firmly to parts of the frame and do not show any movement of any kind. Put in a colloquial way, we confirm that no clip is loose or badly placed.
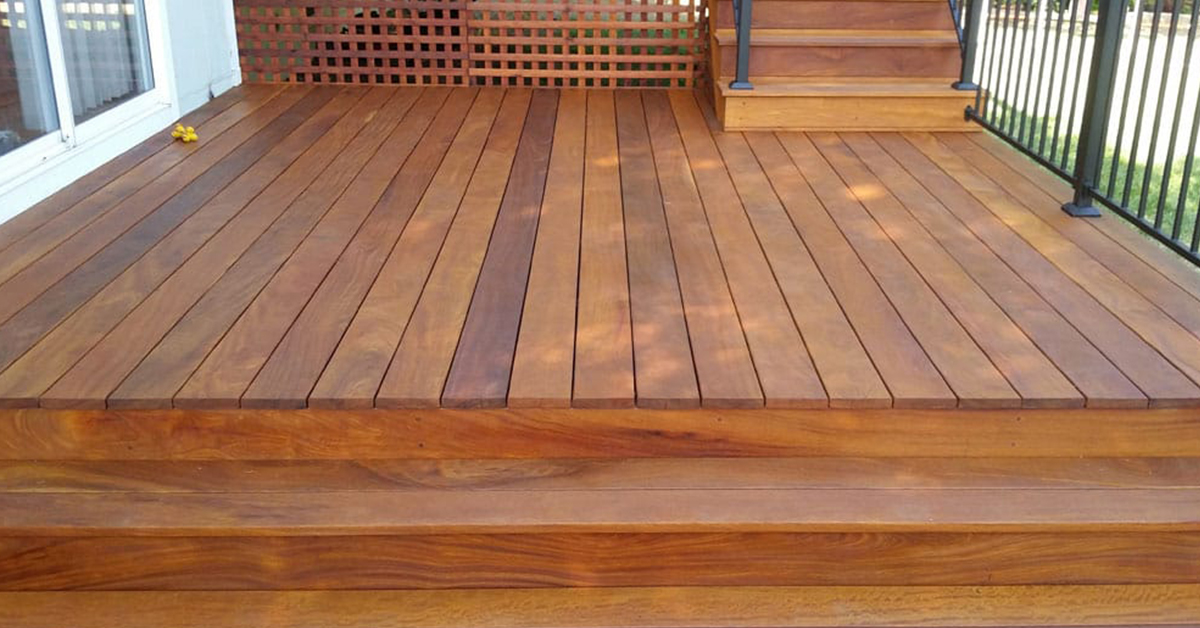
- In the case of some solid wooden decking, the pieces must already be treated for outdoor use, however as an additional measure it is common that the post-installation surface is varnished with some resin or special finish to increase the weather resistance and prevent parts from deforming with temperature changes, especially in extreme climates.
At beautexwood.com we strive to provide technical resources for customers, however we also have a team with experience in the installation of all our products. Do not hesitate to contact us at sales@beautexwood.com or via whatsapp (Click Here) with any questions, concerns or to request a Wooden Decking installation.